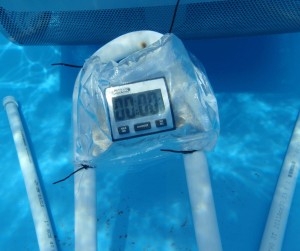
(After reading below, you may want to follow this link to see how we have improved this original underwater timer.)
Needing to swim around with rocks in my hands to put my swimming timer (part 1) in place has been a good pre-swim warm up these past couple of months, but I wasn’t disappointed when I was presented with my new timer stand. I had seen it in my greenhouse for a few days before I knew what it was. It looked like bent up, scrap PVC pipe to me. However, I learned many years ago to ask before I throw things away…
My Inventor tells me that there are all kinds of websites that explain how to heat PVC pipe in order to bend it. That is what he did to create the specific stand shape he wanted. He mostly used a propane torch because he can do it in the barn without me seeing…. Anyway, that’s what the brown spots on the pipe are.
The bent PVC pipe was filled with cement, then the ends were capped with caps that you can find in the sprinkler parts aisle. He had me test to see if it was heavy enough to stay on the bottom of the pool. Test passed.
Now it was time to attach the timer. It was already in the water tight bag (see link in first paragraph), but the bag was kind of large. We didn’t want it catching a lot of current and flapping around or being pushed away. The simple solution was to fold the larger outer bag in half, keeping the timer and sand in one half.
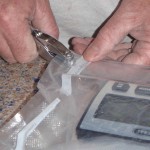
At first, he tried to use a hole punch to make holes in the sealed margin of the plastic bag. That is, he did not cut into the main body of the bag, because we want that to stay waterproof. The hole punch was not quite sharp enough, so he moved on to making slips with a sharp knife. Soon there was a hole in each of the 4 corners.
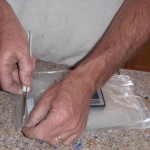
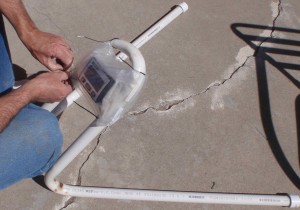
Zip ties were threaded through the holes. Now, he fastened the top two ties, positioning them so that the timer wouldn’t just slip down the vertical section of pipe. When the bottom two were zipped. We checked to see that the timer was in a good place visually, too.
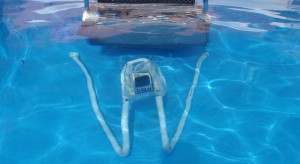
When I got in for my swim the next day, it was much easier to see the timer, compared to when it was on the bottom of the pool. The stand angle was well designed to be easy to look at, but not in the way of my arms. Since I didn’t have to count strokes or strain to see the timer, I could think more about my stroke form and I had a more relaxing swim time. That doesn’t mean it wasn’t a workout! Just that my timing and balance were not constantly being adjusted to be able to see the timer.
I left the timer in the pool, but my Inventor has suggested I take it out between swims, just to avoid problems with slow leaks. It is not so heavy that that will be at all difficult.
The total materials cost is under $30, most of it still being the timer cost. I am counting the cost of everything, even if it was something already on our acre. My Inventor likes to keep things like PVC pipe and zip ties on hand because you never can tell when they will be just the thing you need!
