Fun Fitness After 50

Old enough to know how to have fun!

  • Running
    • barefoot
    • minimalist
  • Swimming
    • my Endless Pool
    • open water
  • Cycling
    • spin bike
    • mountain bike
    • road bike
  • Dancing
    • backyard
    • clubs and pubs
  • Strength Training
    • TRX
    • yoga
  • Hiking
  • Health Basics
    • nutrition
    • aging
    • weight and body image
  • The Fun Fitness After 50 Store

Double Thick Ear Muff Style Polar Fleece Headband

September 15, 2012 by Laura Blodgett 9 Comments

easy home made polar fleece ear warmers

I needed a ear warmer headband that would more completely cover my ears, so I measured where my ears are on my head, and came up with this simple design.  I have made headbands for many of my friends and family, so it seems to work on other heads, too.  It is another great way to use up small scraps of polar fleece and make something that can be used for many outside activities during the cold weather.  It is also fun, because it is so fast and easy, satisfying both the desire to get a project done AND make several gifts quickly!

Be sure to print this pattern at only 100%: pattern for polar fleece ear muff style headband ear warmer.  When my computer opens the Adobe attachment, it automatically fits it to size the page, which seems to be 225%.  No one with that big of a head at my house!  You should be able to change the size to 100% with the Adobe menu bar that shows up if you hover your mouse at the bottom of the page.  Click on the fancy A on the far right, and another menu bar will appear on the top.  Slightly to the right of center is a box that lets you adjust the size according to percentage of original.

The headbands work best if cut so that the slight stretch of the polar fleece is going around the circle. Also, don’t miss the fact that the pattern is to be cut on a fold.  

Cut two pieces of polar fleece that will be sewn together to make the double thick headband.

Sew ONLY the long, curvy edges with a regular straight stitch.  No need to reinforce or  finish edges.
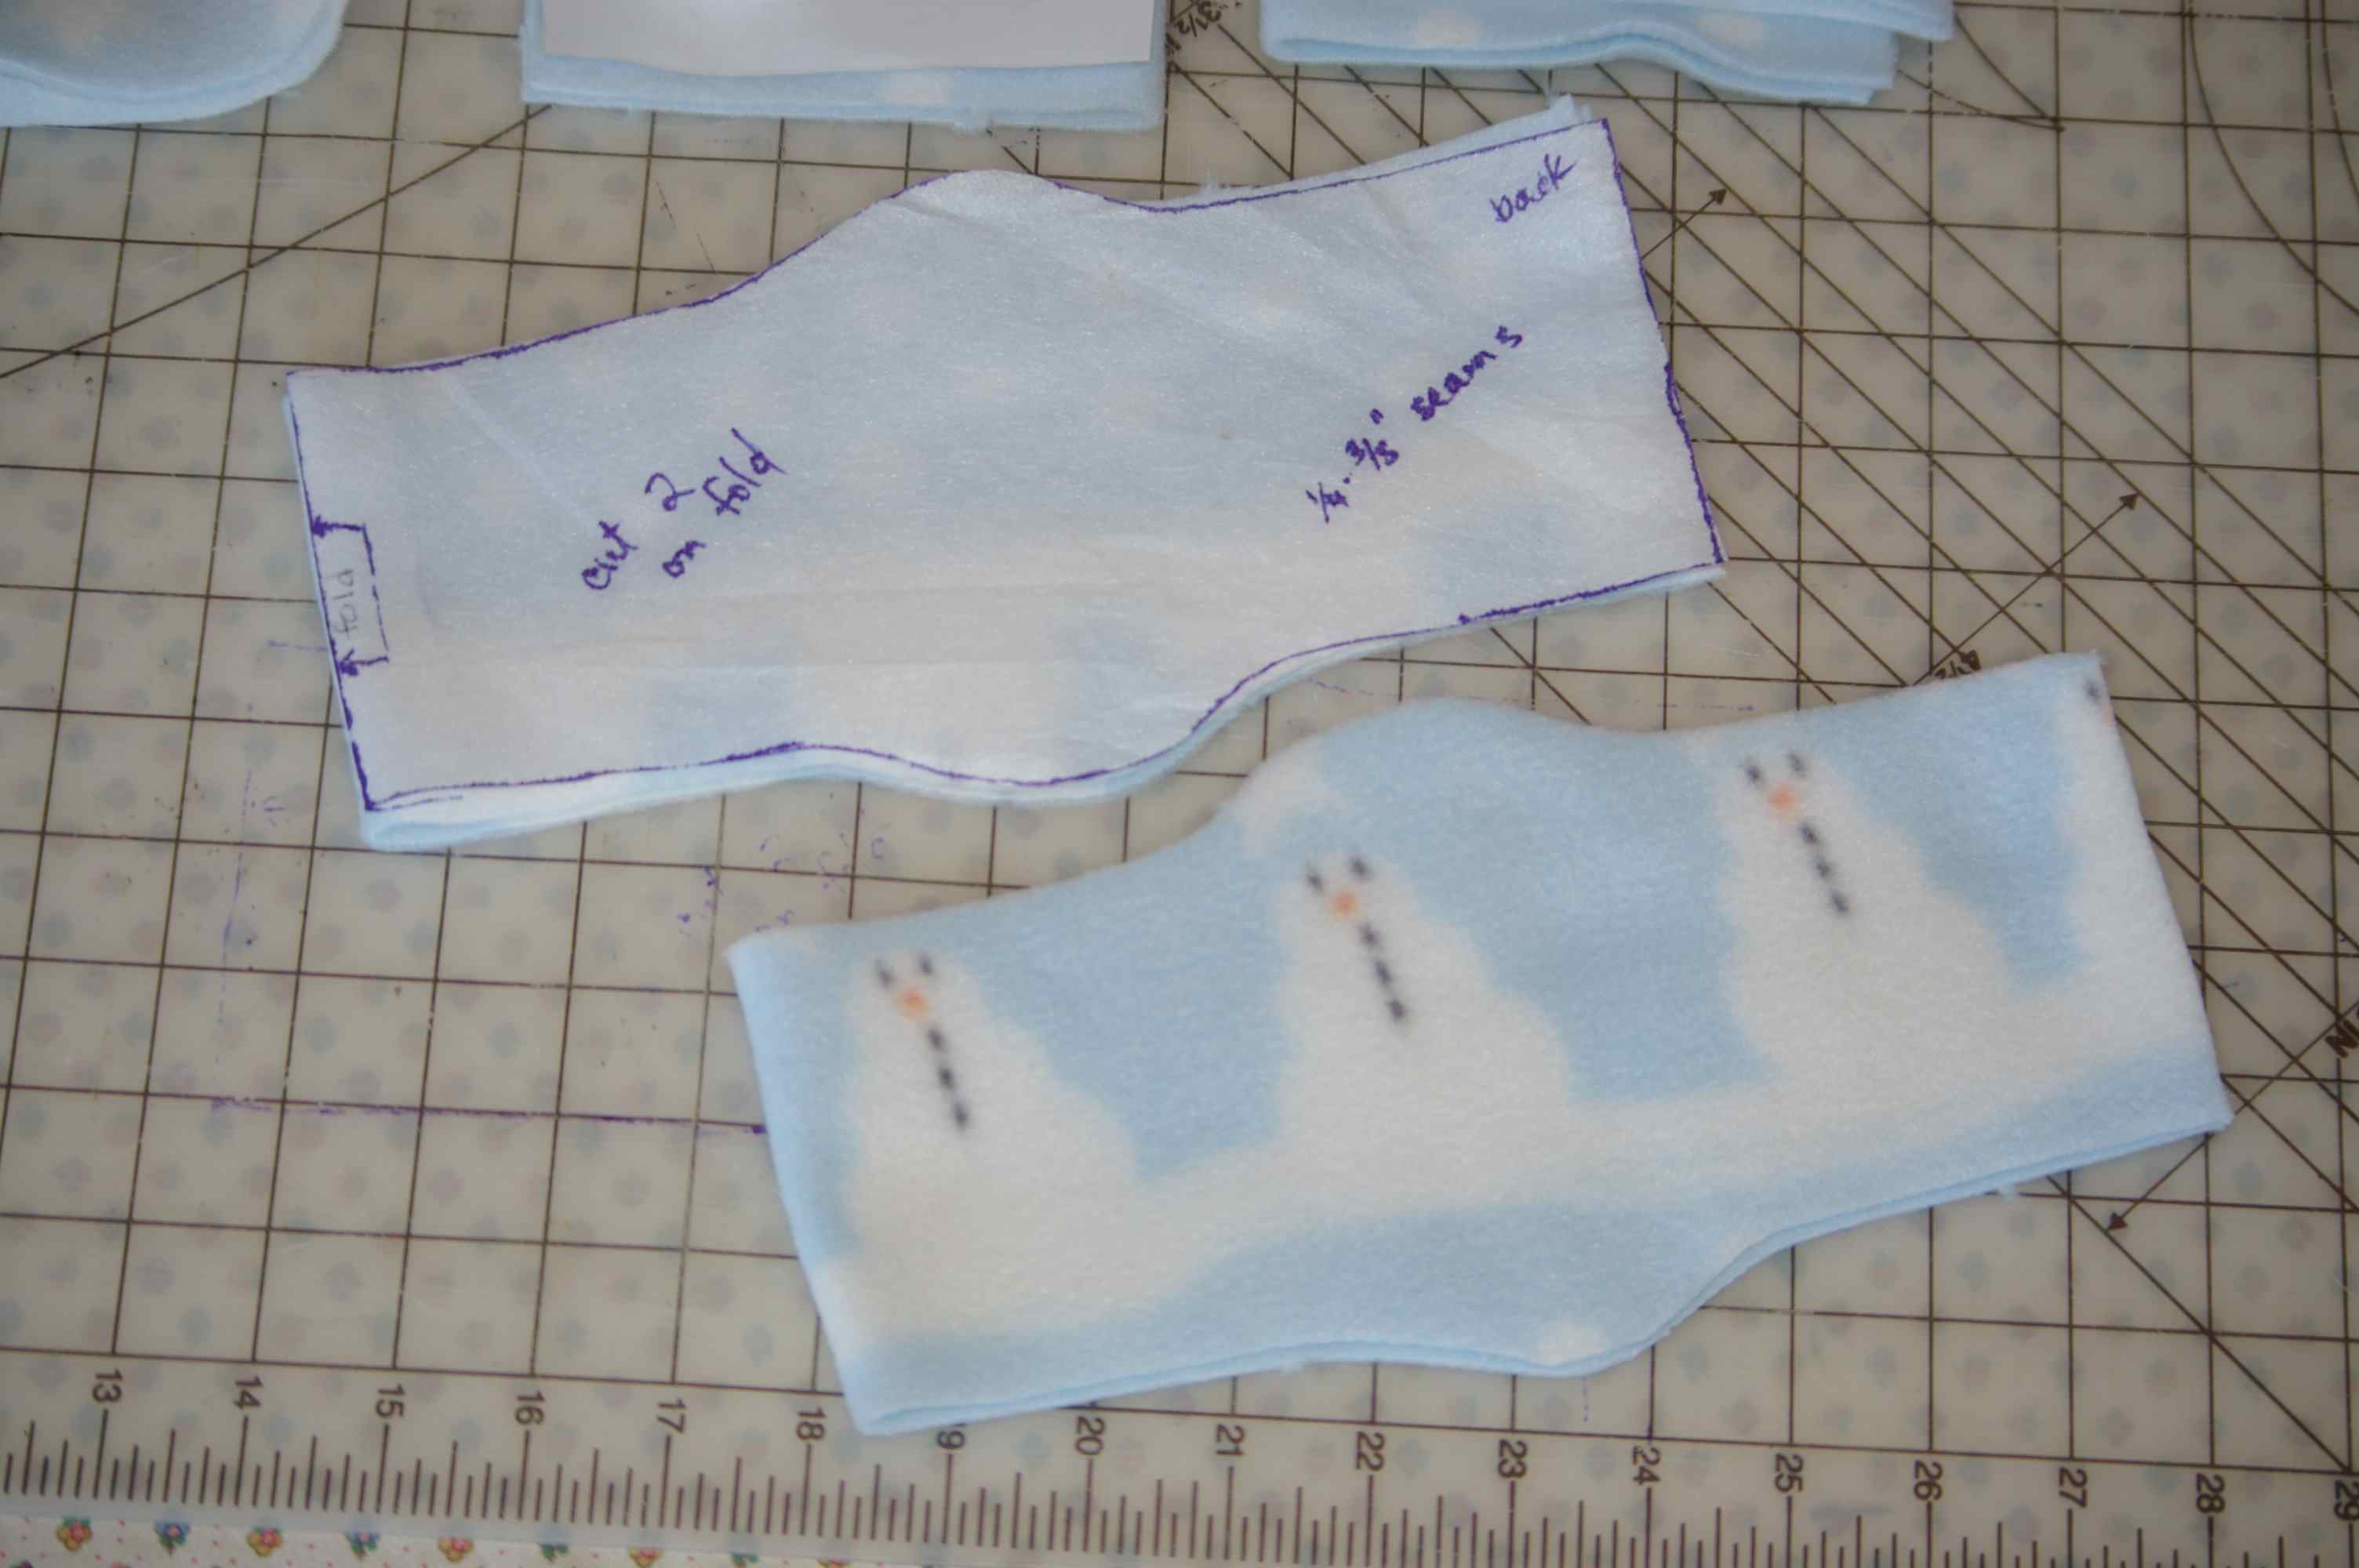
ear muff style polar fleece headband pieces cut out
double thick polar fleece headband pieces pinned together

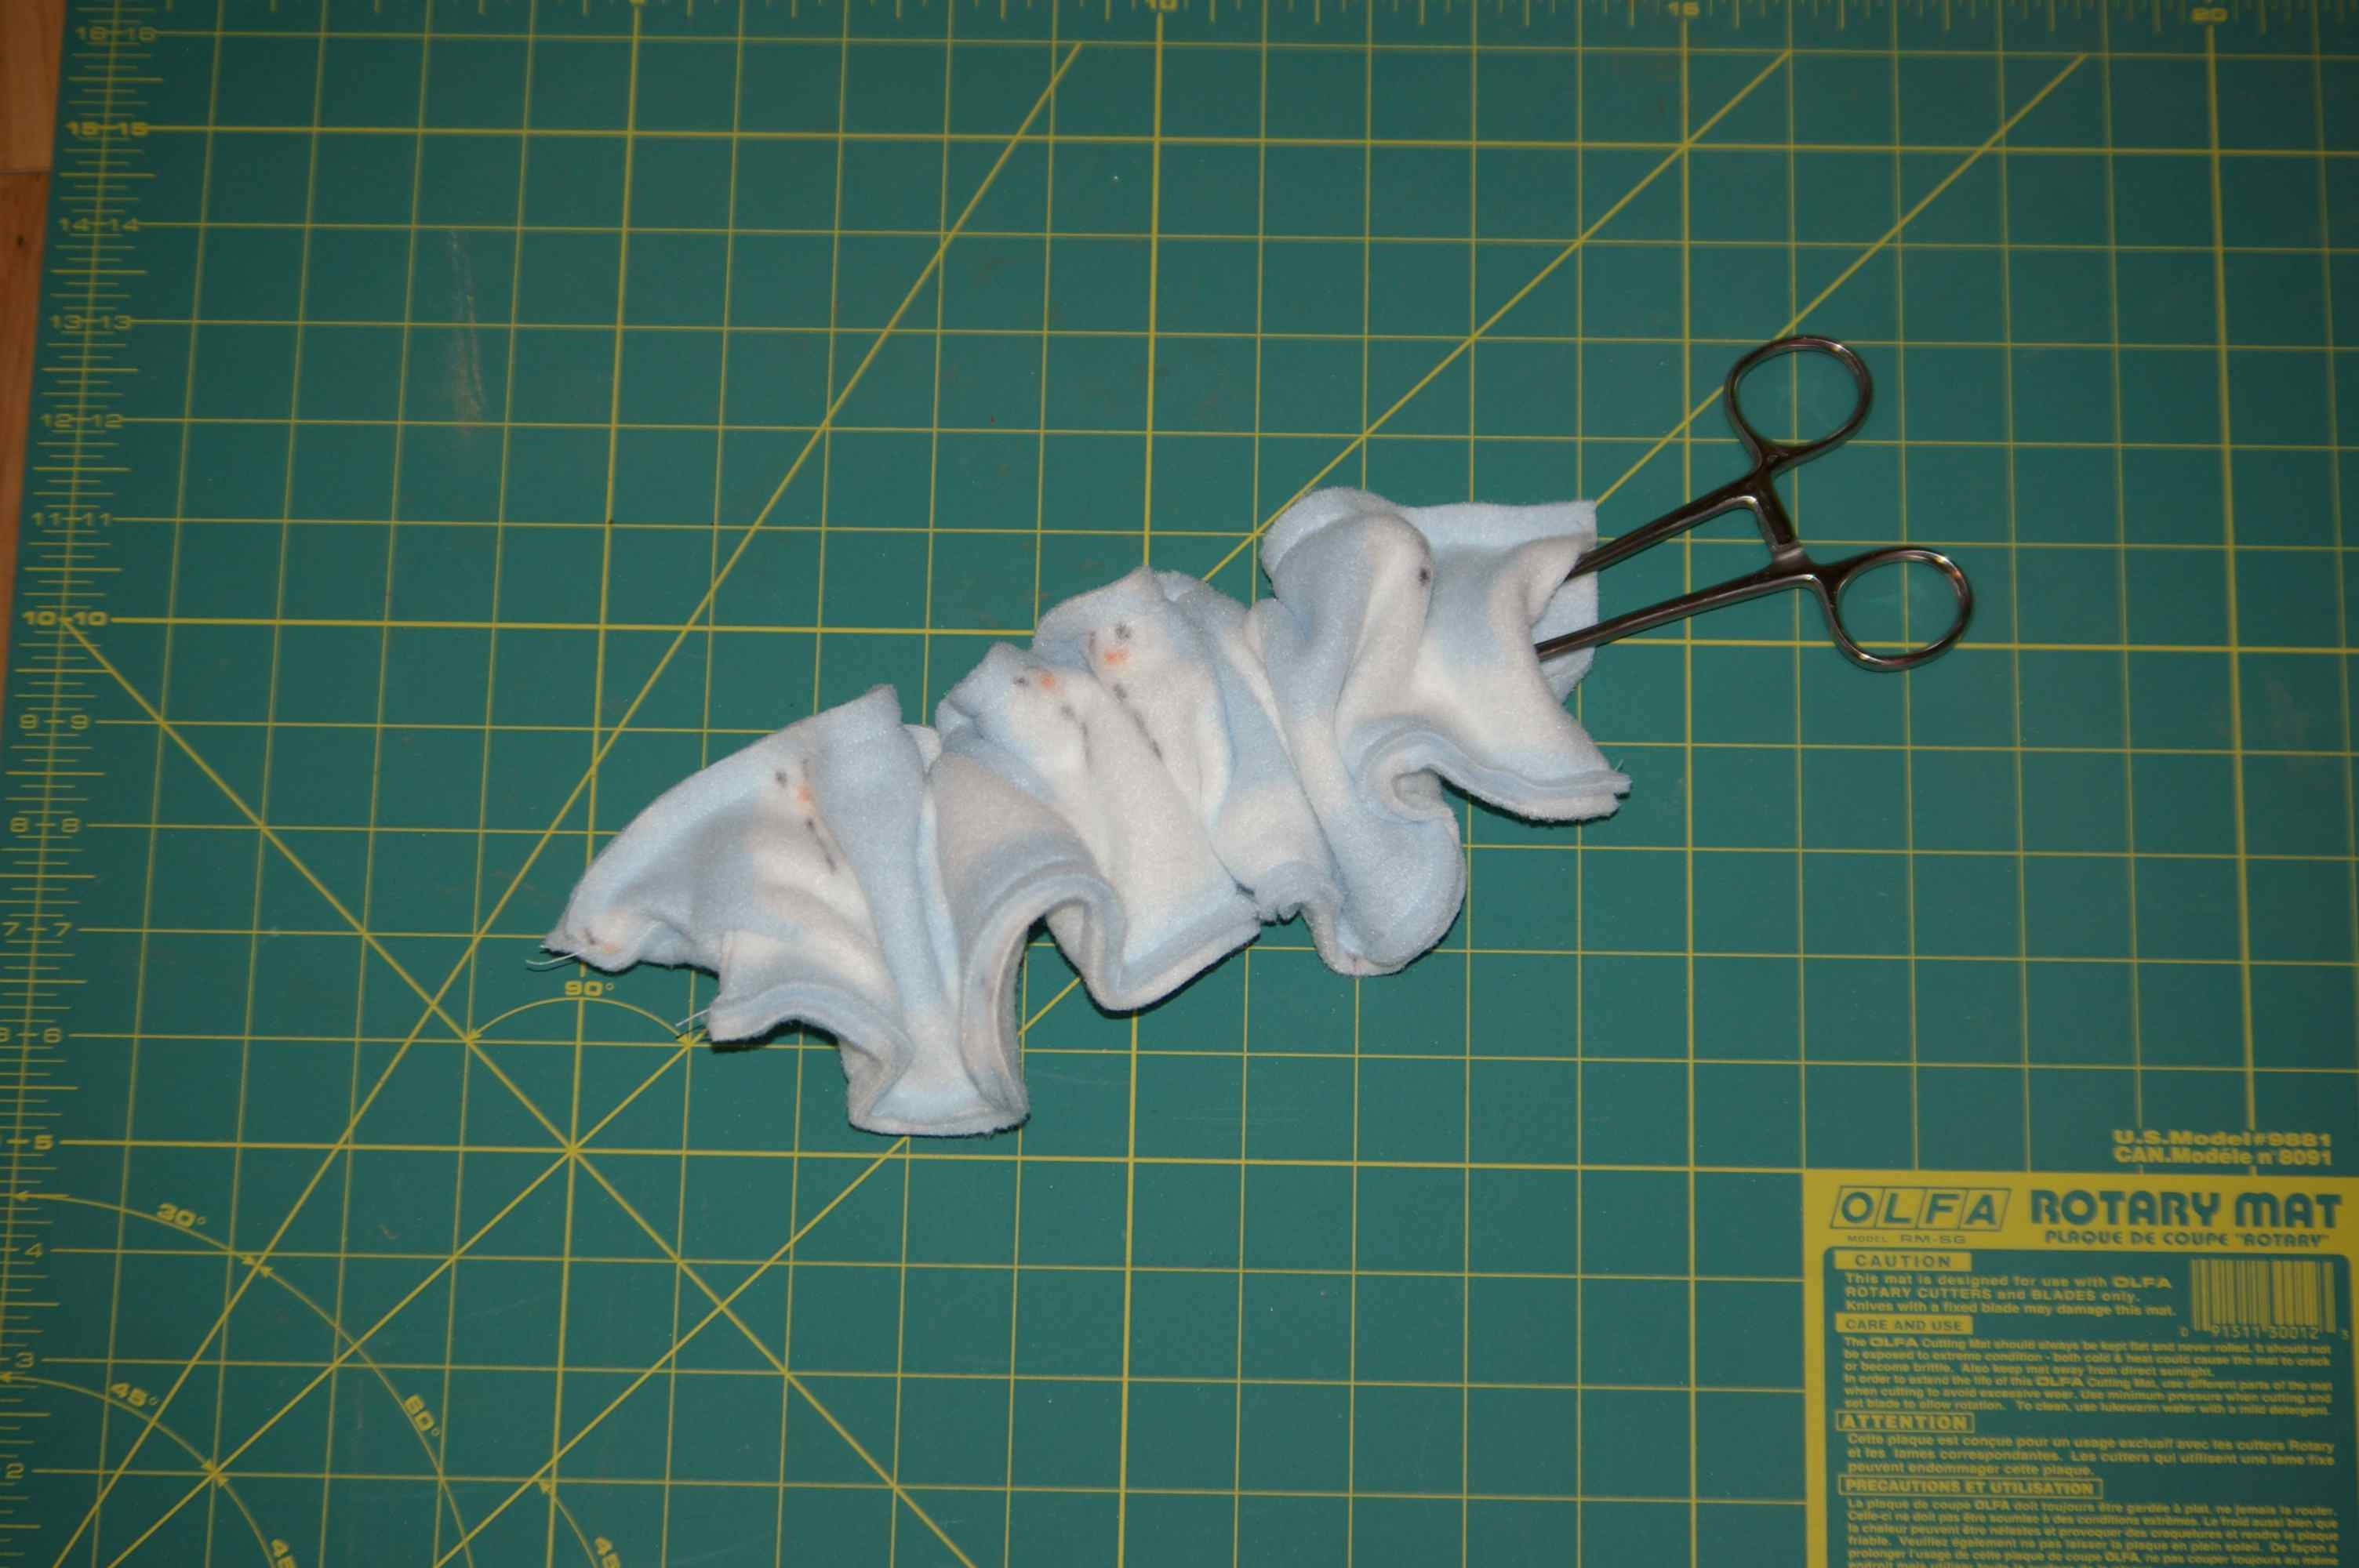
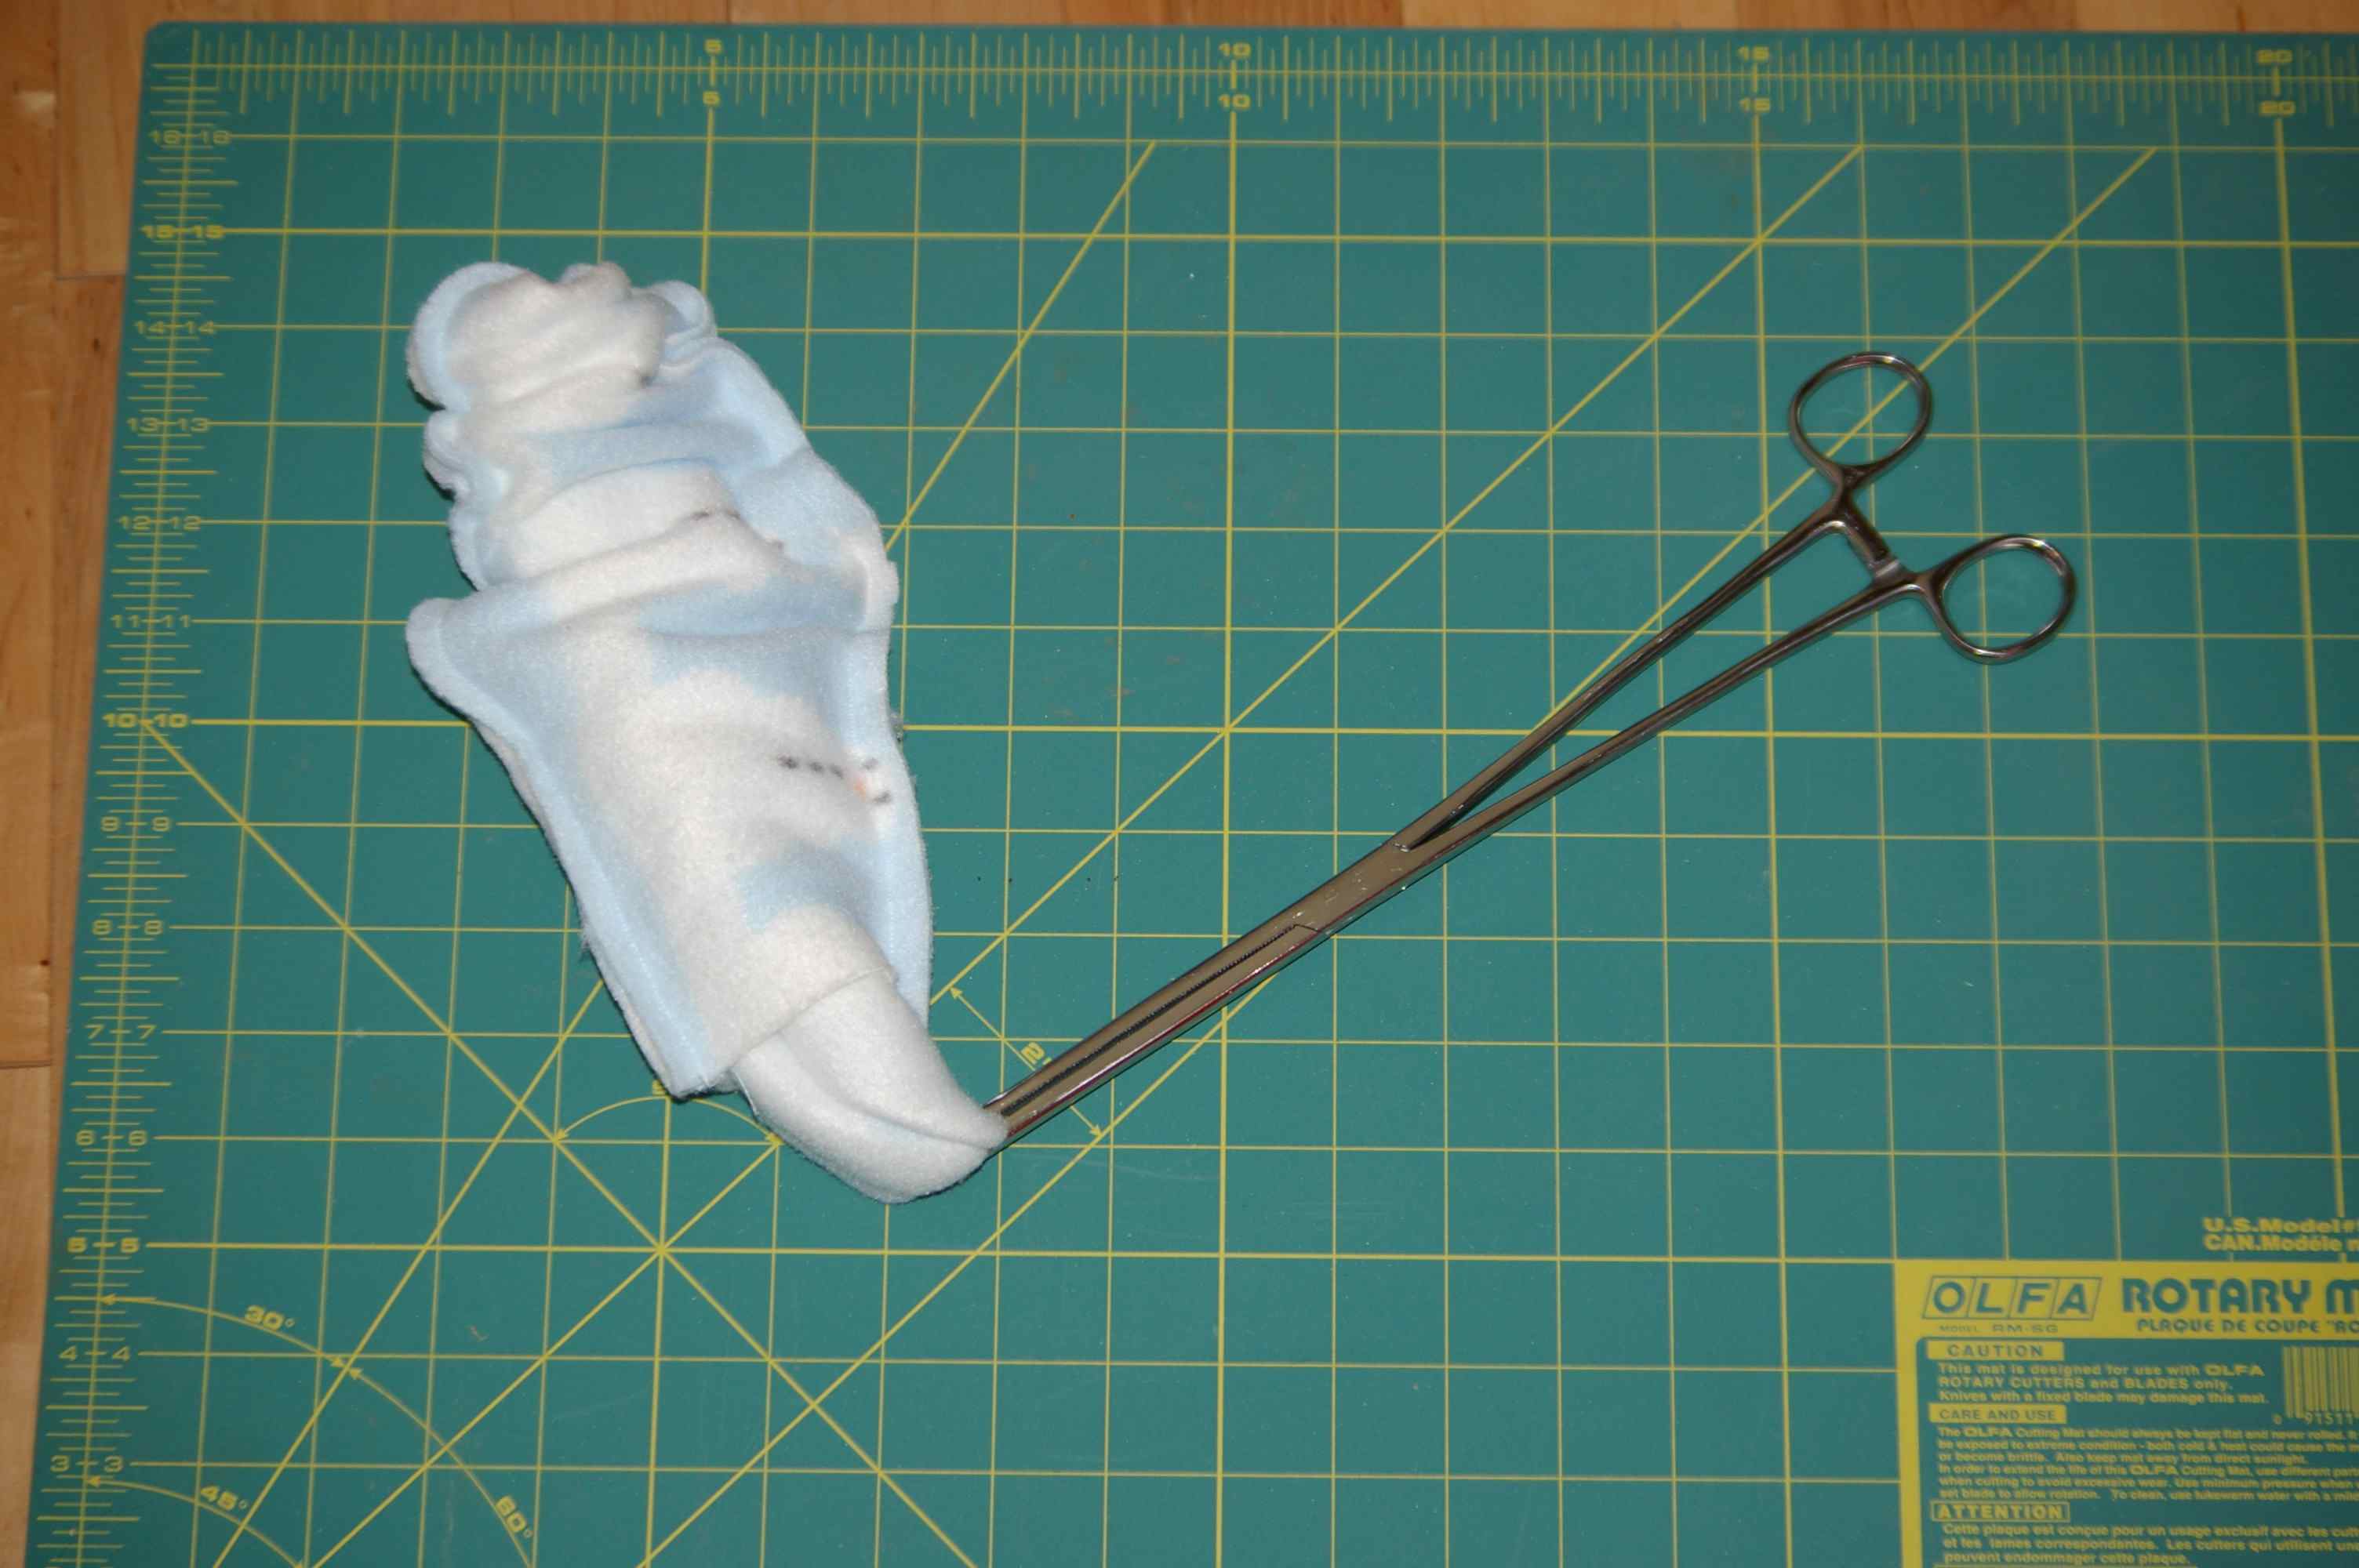
I use my 12-Inch Straight Hemostat to turn the headband right side out. The hemostat is a great tool for turning ties, too. My husband has threatened to take the hemostats for his fishing tackle box because the pair he has is smaller…

turn polar fleece ear warmer easily using a large hemostat
polar fleece ear warmer being pulled right side out

Once the headband is right side out, it can be helpful to use your fingers to press the seams open some. This will make the top stitching easier to do, but you will also have to keep working the seam some while sewing, to help the edges keep the shape as you top stitch. It is not hard, just something to be aware of and do.

polar fleece ear warmer turned right side out
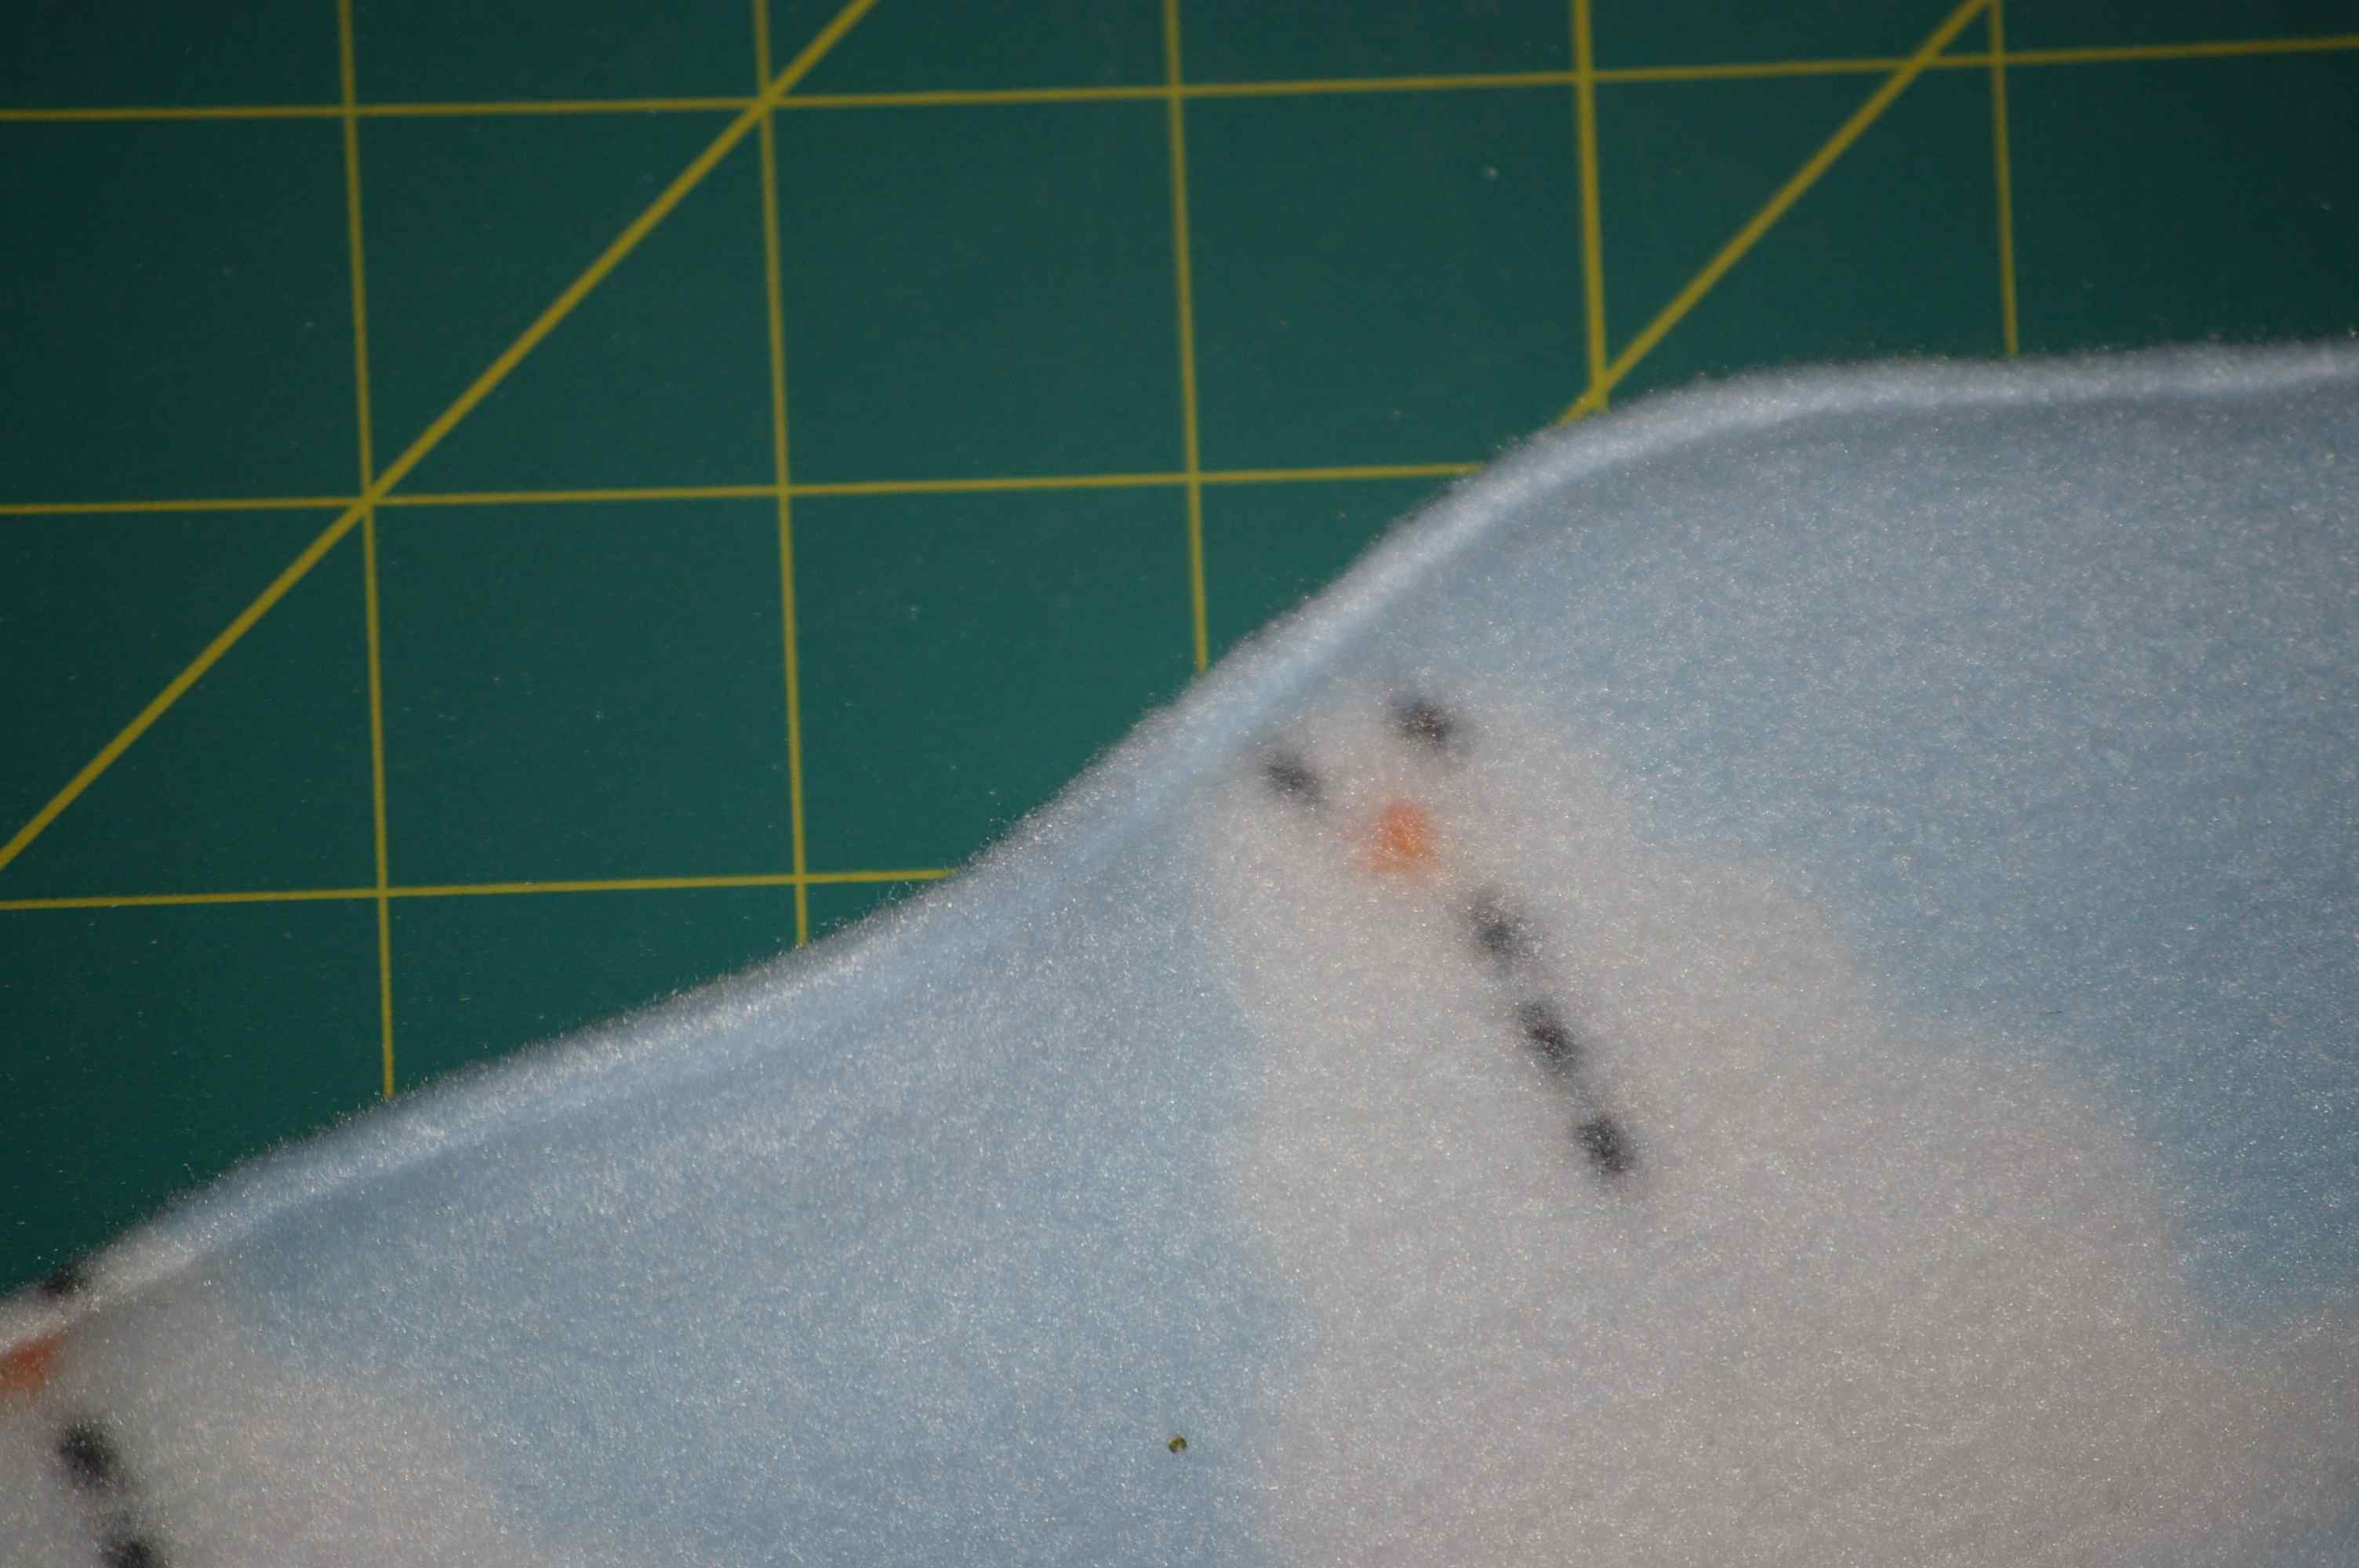
polar fleece headband edge topstitched

Top stitch about an 1/8 inch from the edge of the two long sides of the headband.  The ends are still unfinished.

polar fleece ear muff style back seam
polar fleece ear muff style headband back seam bulk stitched down

Making the top stitched edges even on both sides, pin all                                                     layers of the back seam together and sew in about a 1/4 inch seam.  

If the person you are making the headband for is handy, this is a good time to try it on for a fit.  Small adjustments can be made in the size of the back seam to make it smaller.  If it needs to be bigger, I suggest finding another person for that particular headband, then cutting the next one a little longer on the ends.

Back to the sewing process of the one you are working on, use a couple of zig zag rows to sew the bulk of the seam down flat.   The headband is complete!

If you want to make someone an extra special gift combo, may I suggest you make them a pair of convertible mittens to match their ear muff style headband?  These mittens are great for running in the winter.
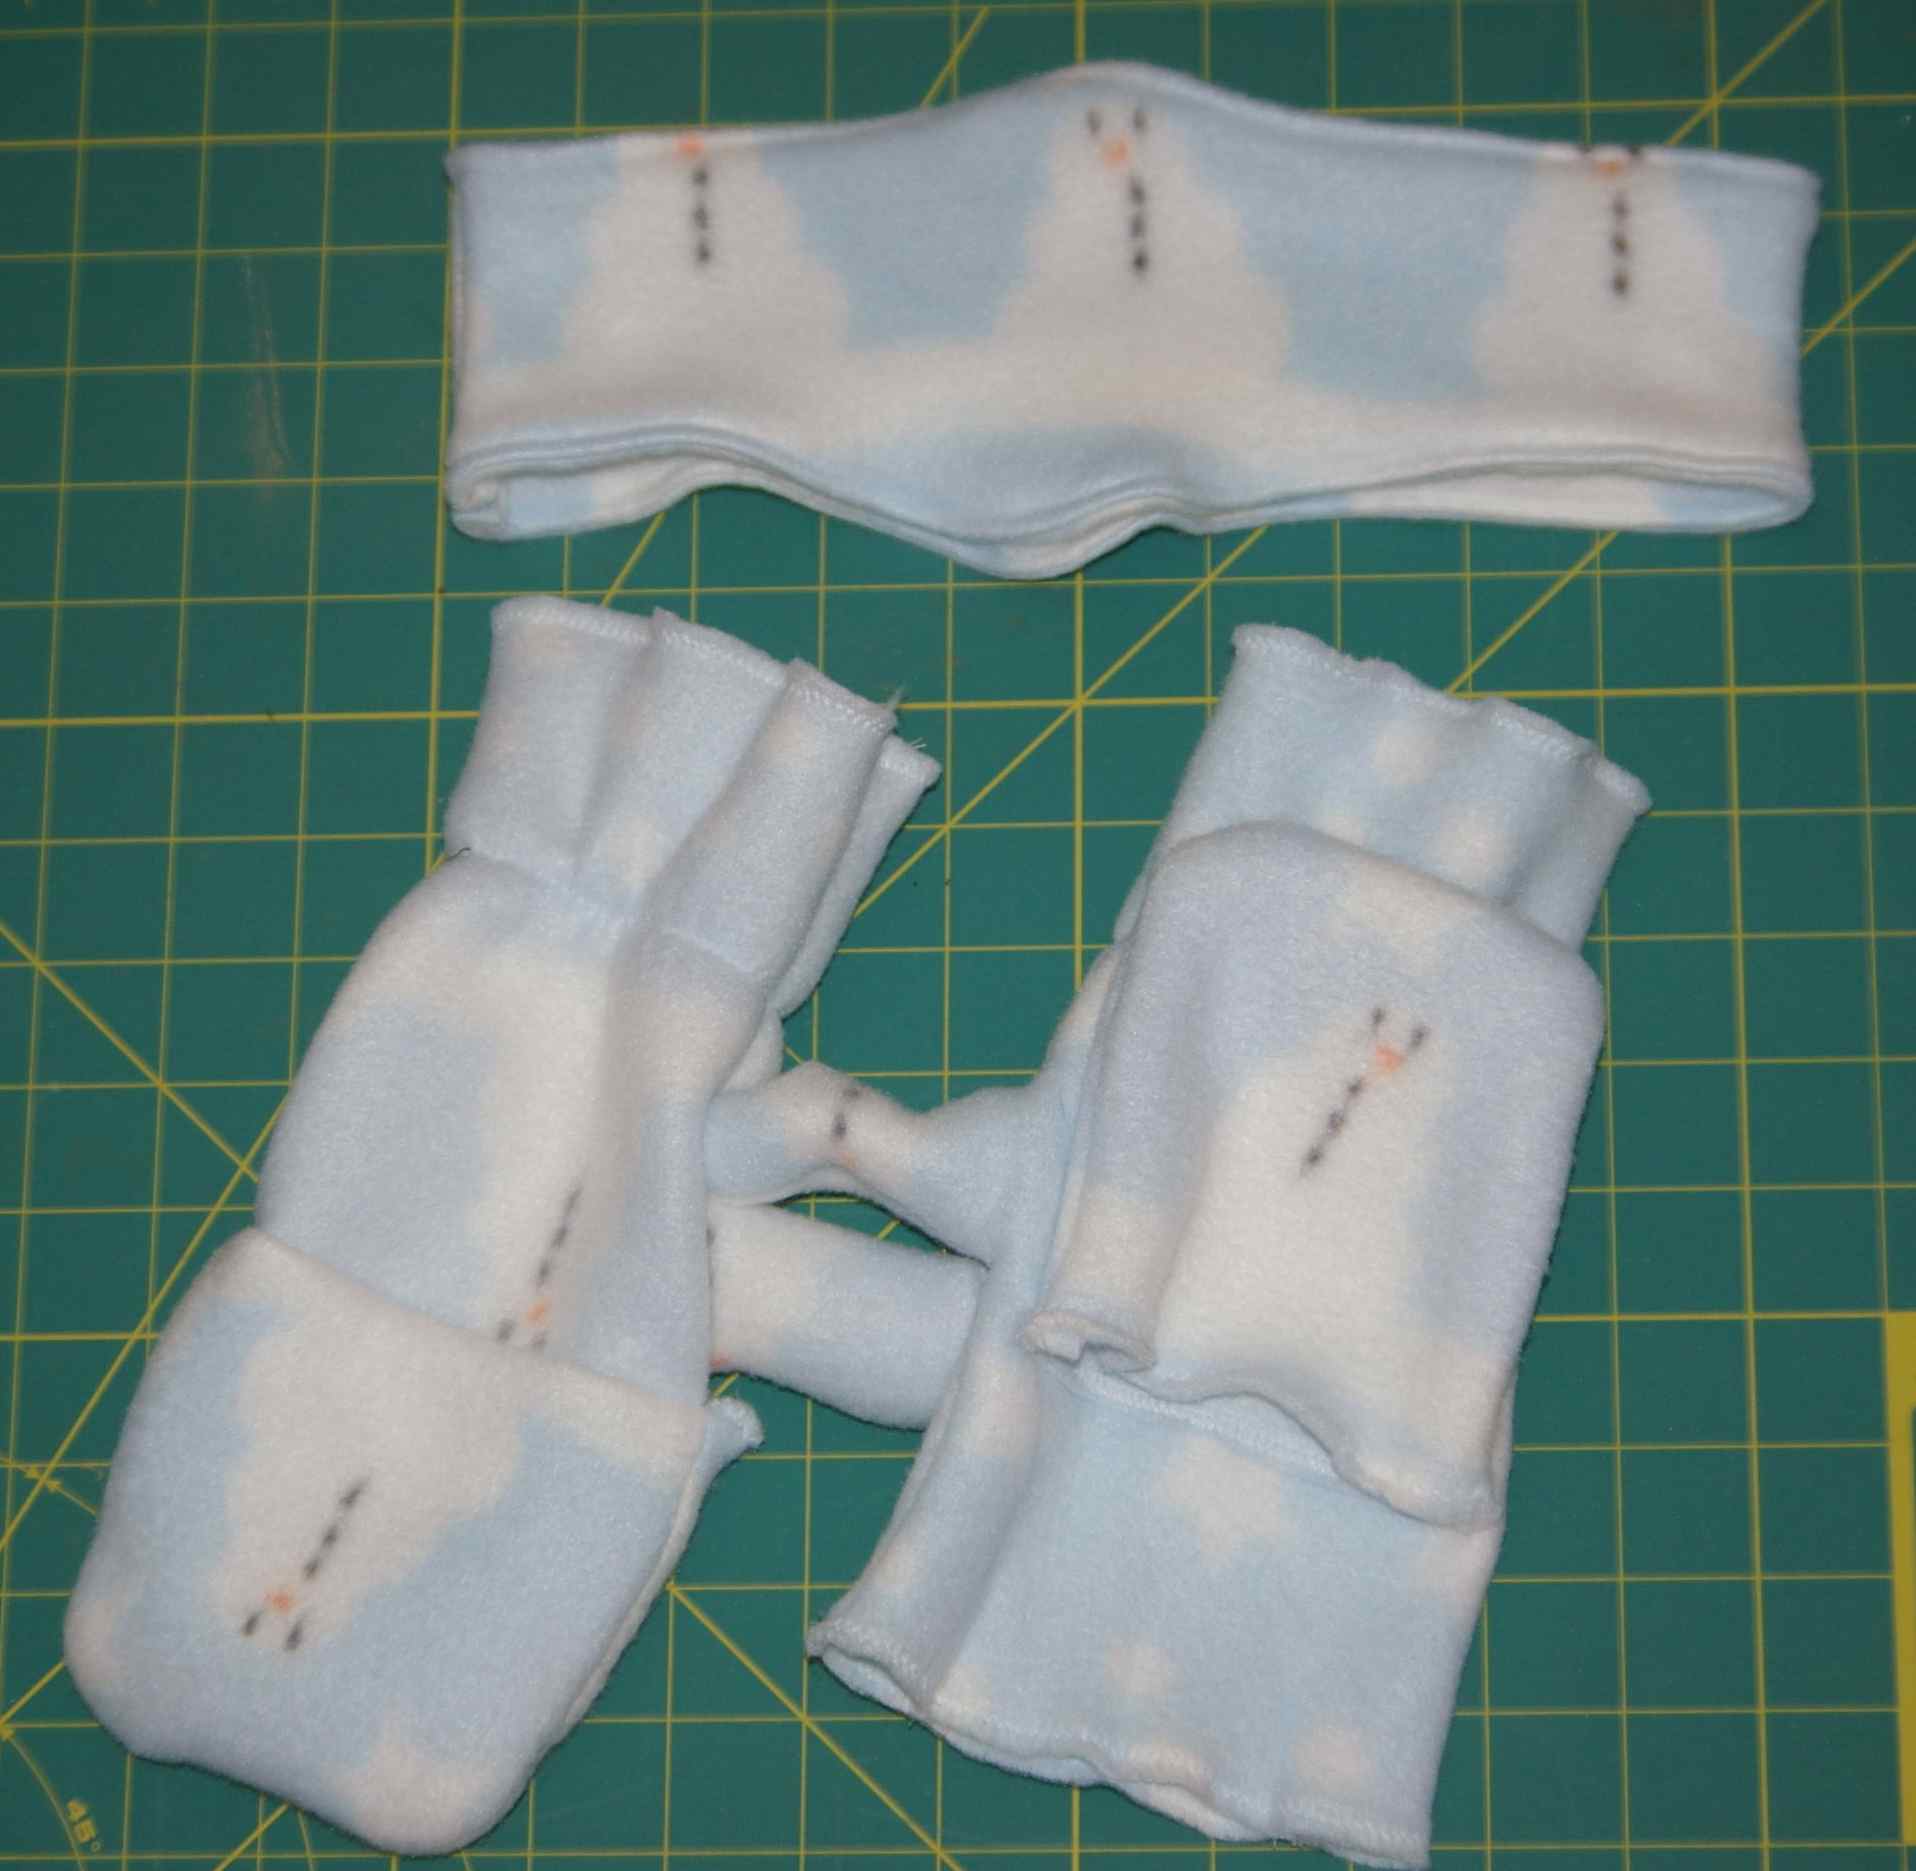
polar fleece headband with matching convertible mittens
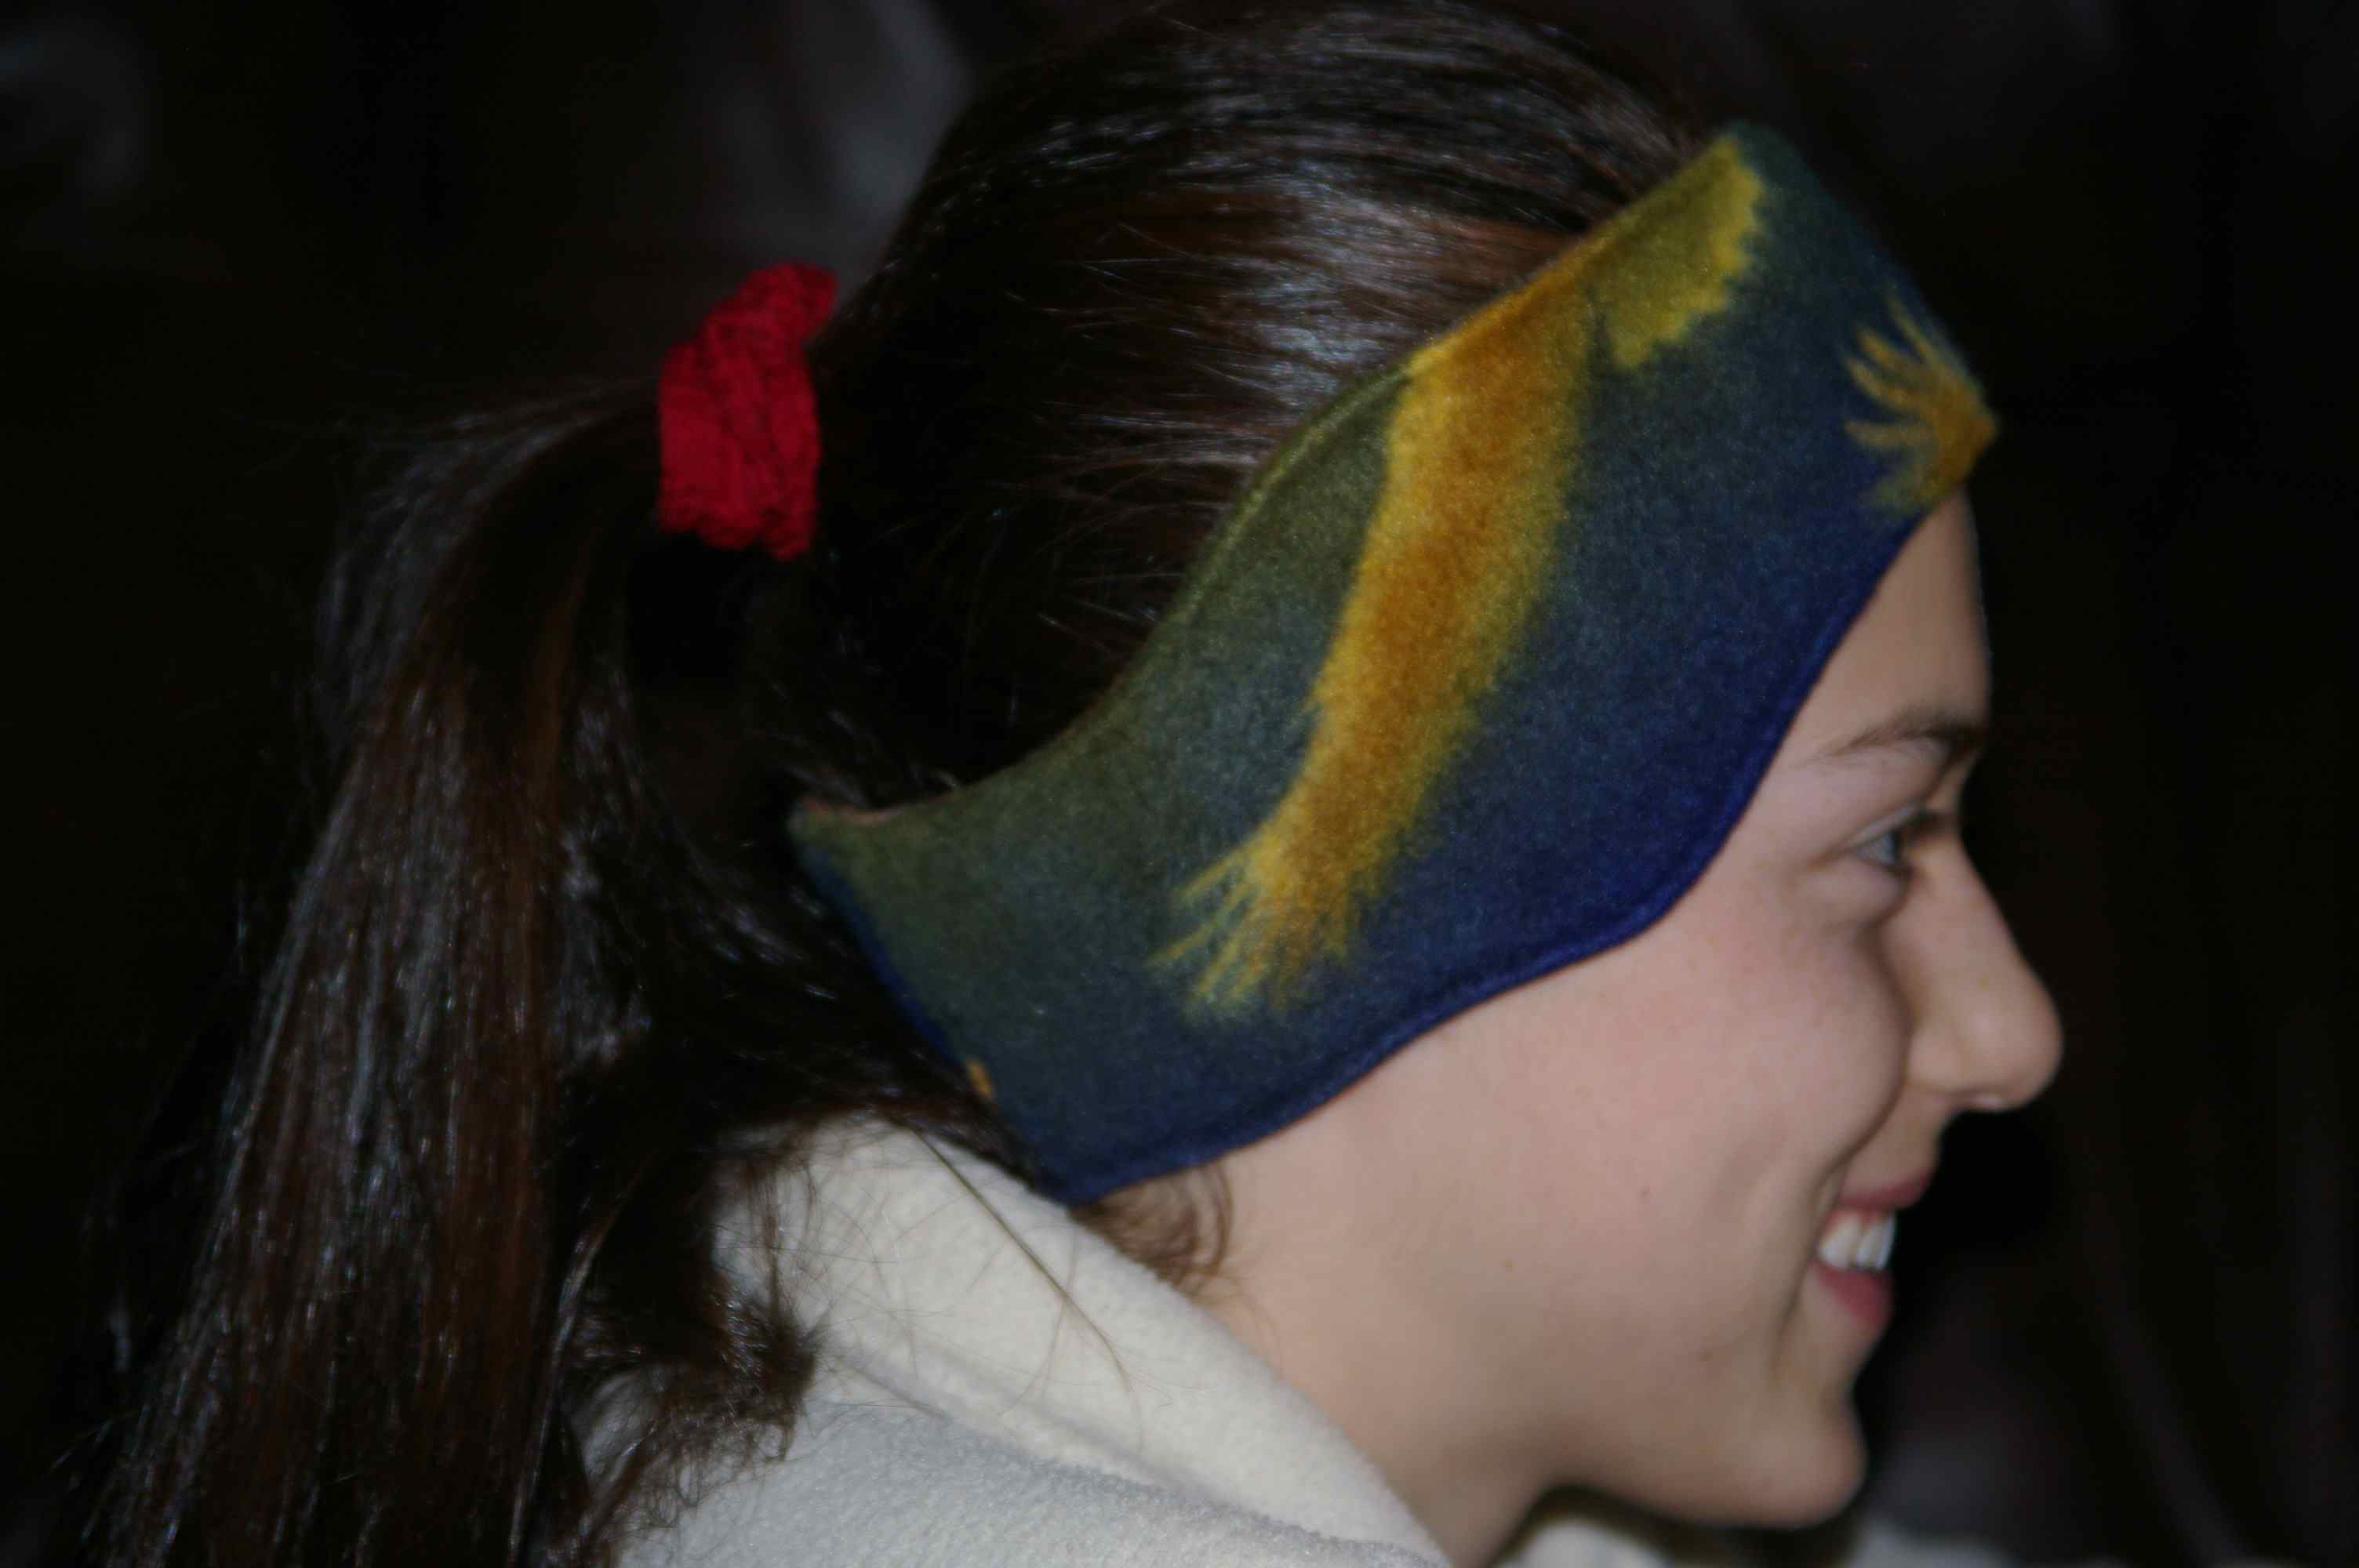
polar fleece ear warmer side view modeled by daughter

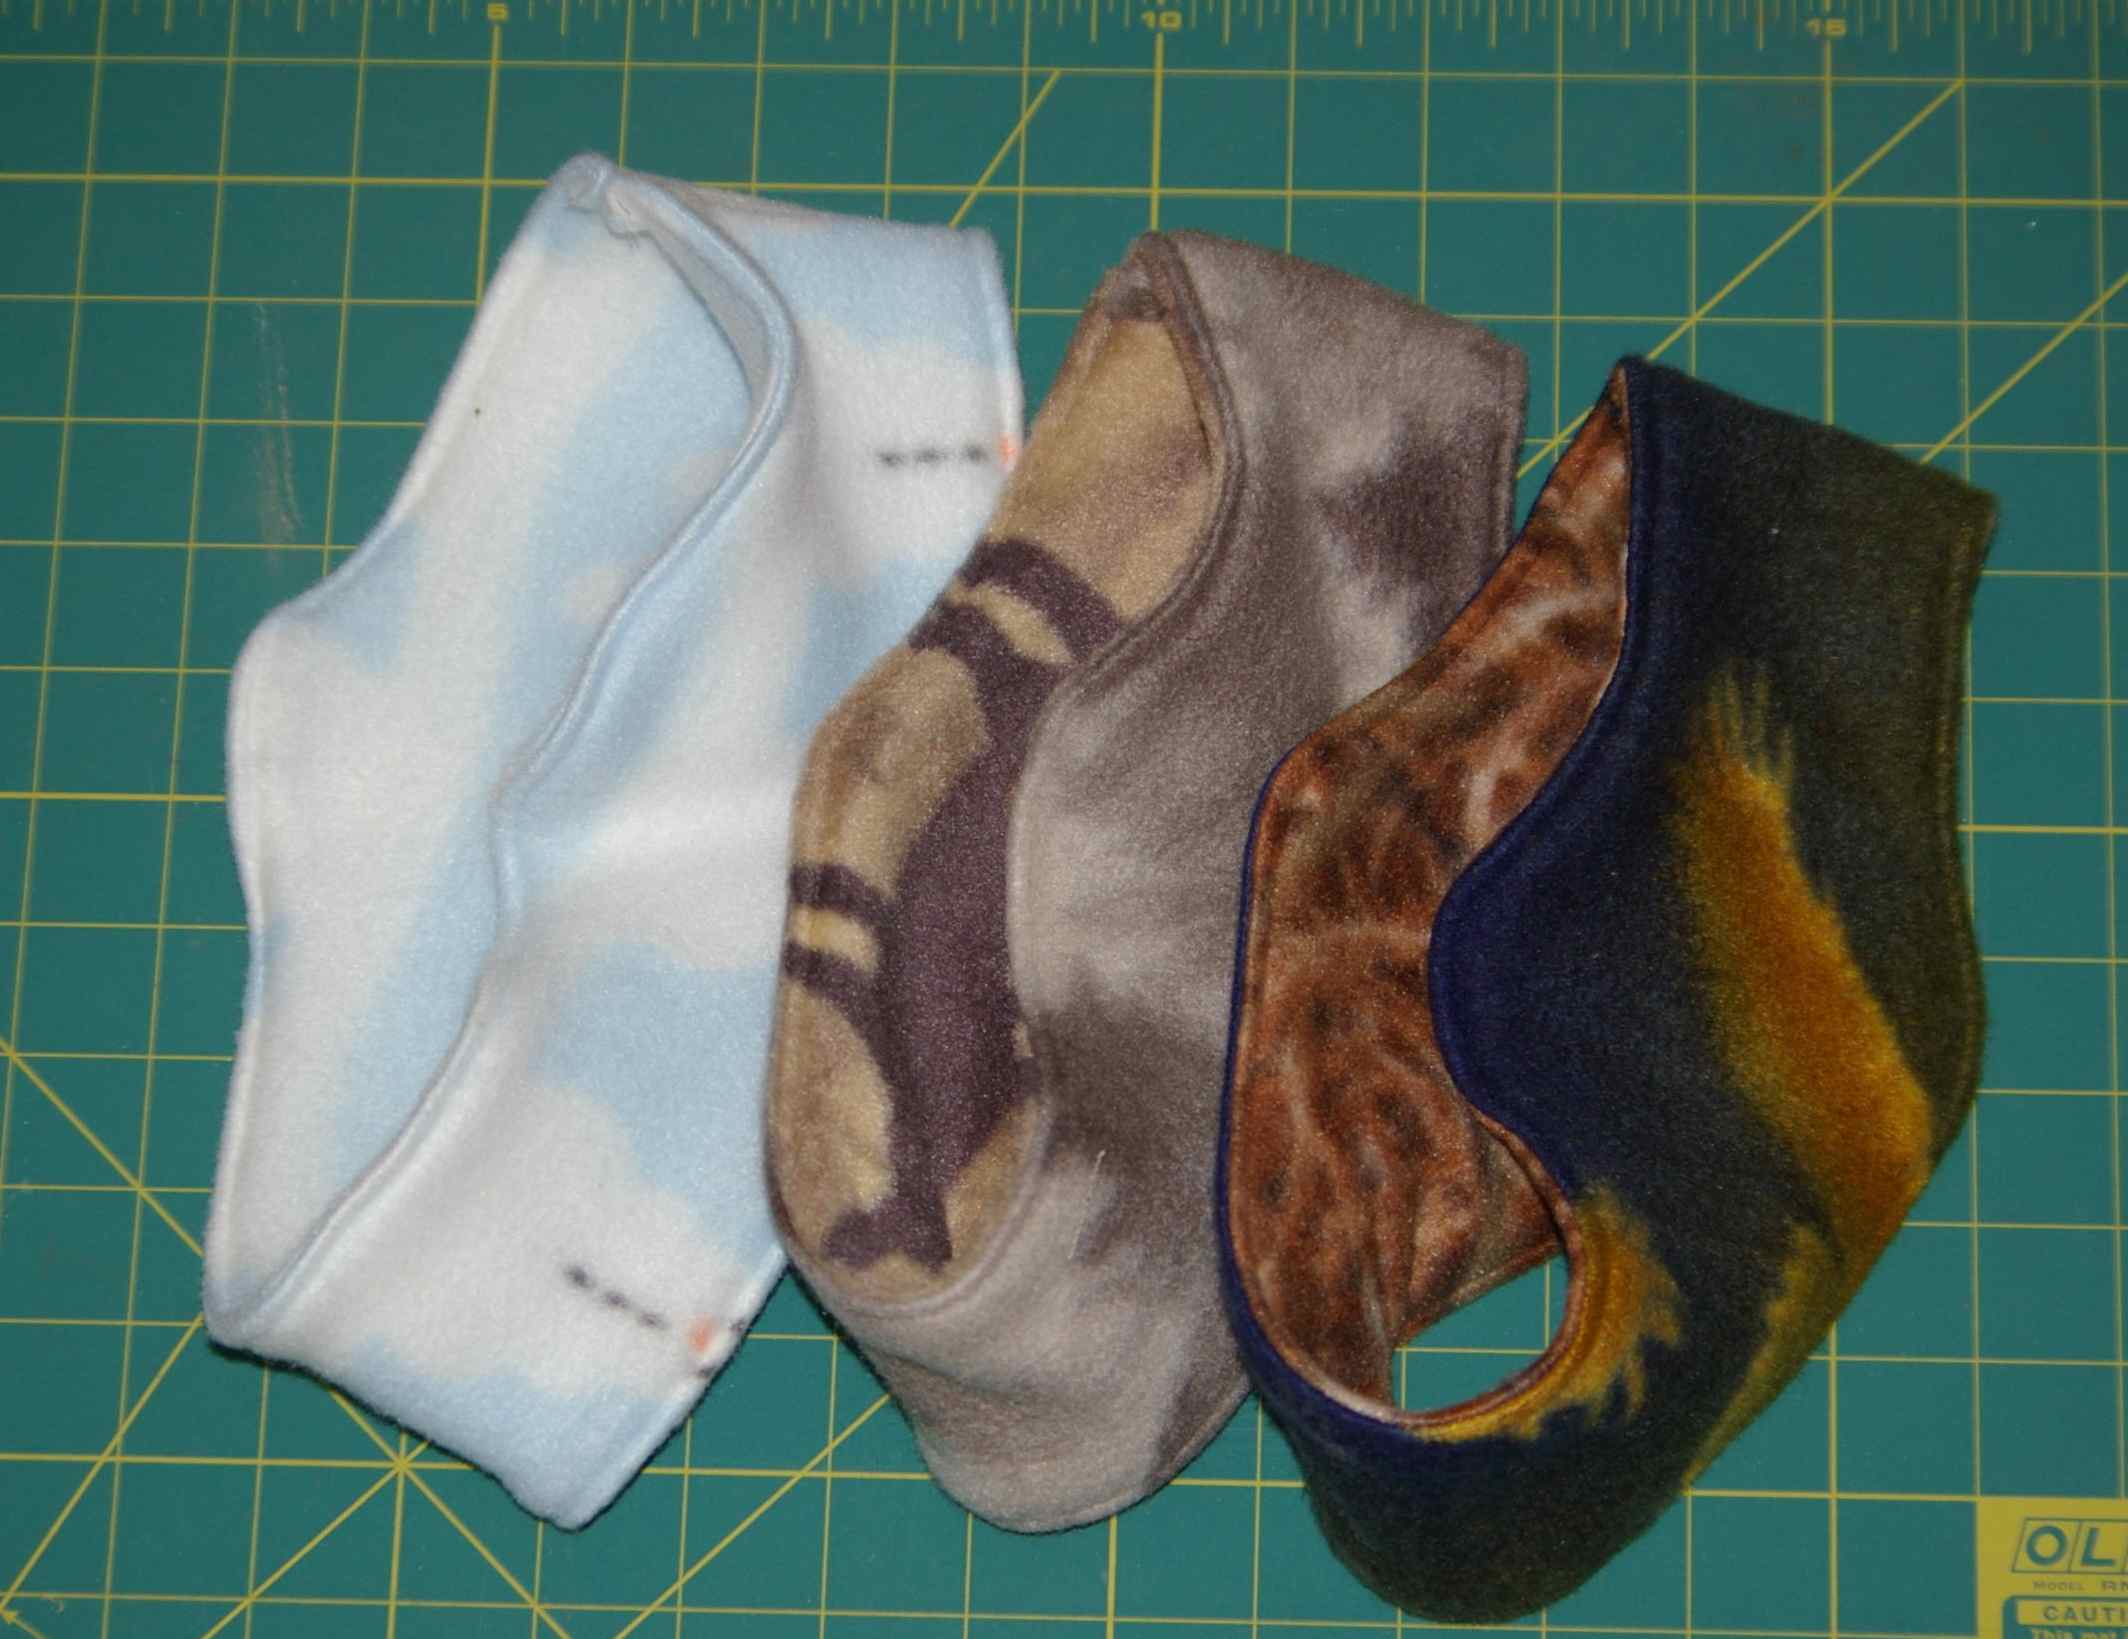
You can see on a couple of the examples in the very top photo that it is not necessary to use the same fabric for both layers of the headband. Since the back seam doesn’t show when the headband is worn, this makes it reversible. So, go dig into the small left over pieces of polar fleece that you weren’t sure what to do with and make some headbands!
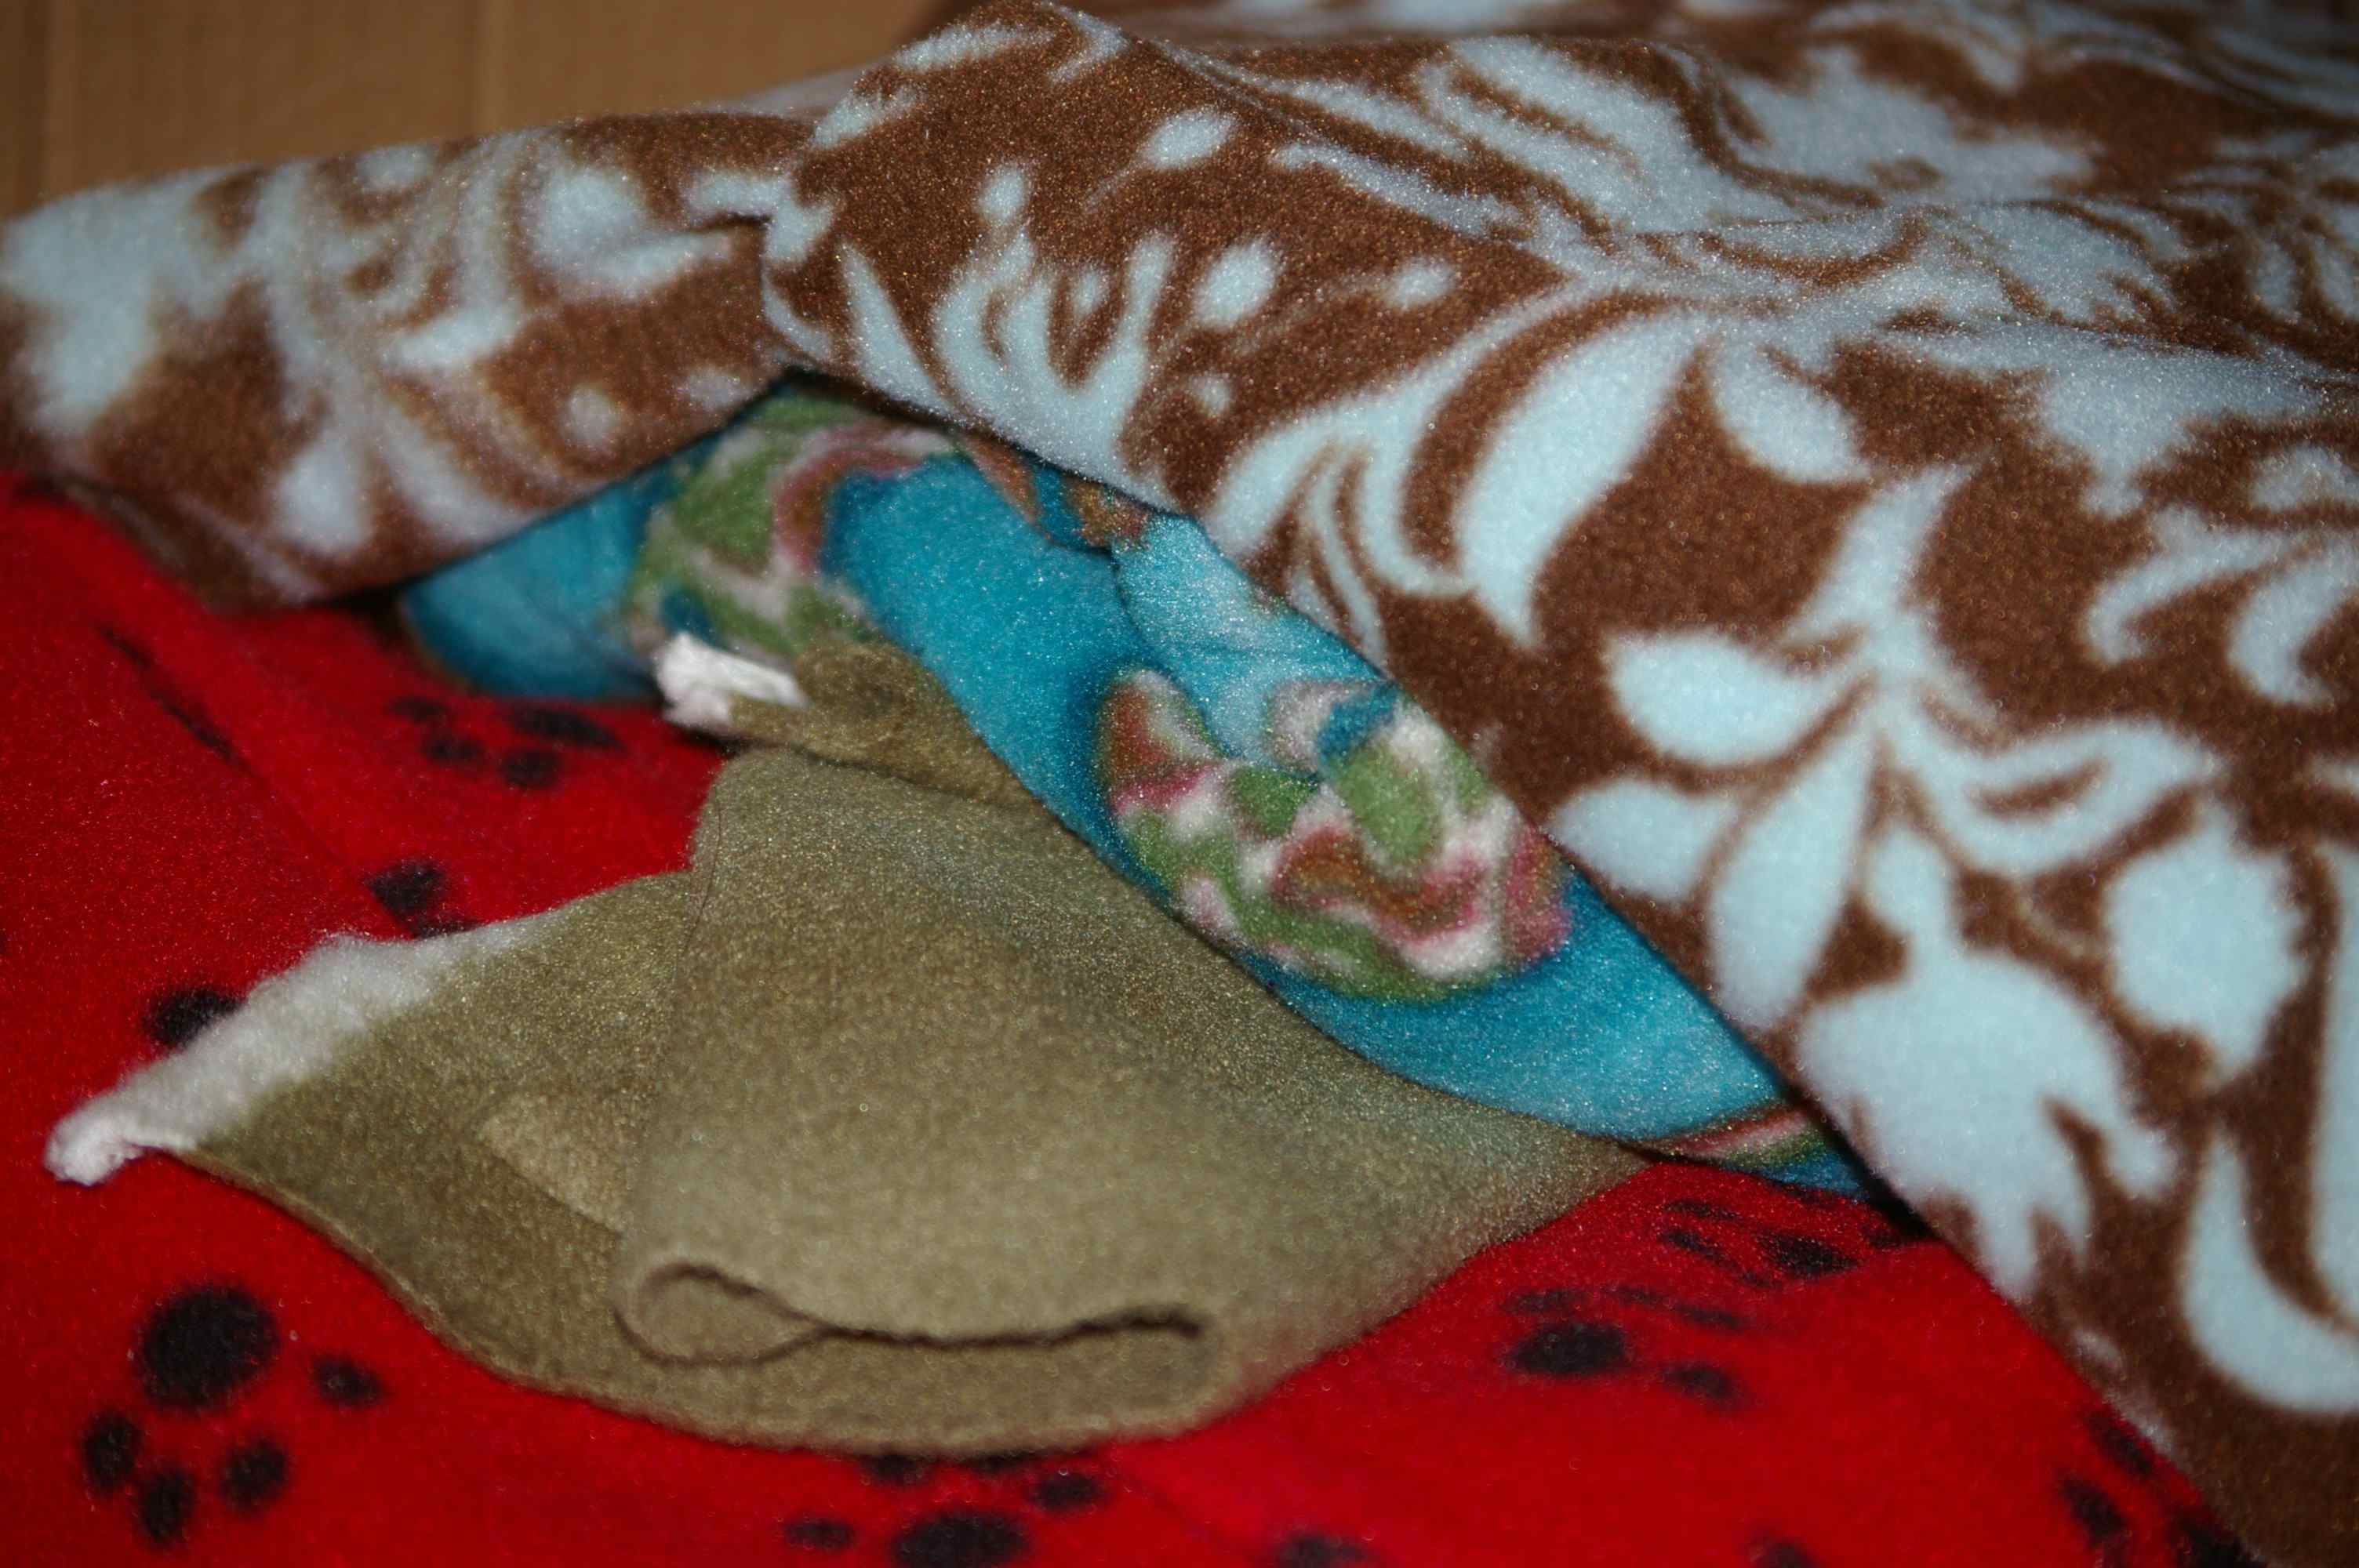

potential polar fleece headband piles of polar fleece scraps

Filed Under: Cycling, Running Tagged With: gear

Comments

  1. Jesse says

    September 15, 2012 at 9:14 pm

    Man those are some NICE fishing pliers!

    Log in to Reply
    • Laura says

      September 16, 2012 at 4:10 pm

      Okay, Jesse, thank you for your input….:-P

      Log in to Reply
  2. Stetch says

    October 26, 2013 at 8:22 pm

    looks great – I’m going to make one of these tomorrow. Thanks for sharing! 🙂

    Log in to Reply
    • lauraimprovises says

      October 26, 2013 at 9:17 pm

      Glad you can use the idea. It is that time of year again!

      Log in to Reply
  3. Cindy says

    February 6, 2014 at 10:16 am

    Thank you so much for sharing this! I had looked and looked for a pattern/tutorial but most of what I could find wasn’t shaped. I made one using your pattern and the fit was perfect! Thanks again!

    Log in to Reply
    • lauraimprovises says

      February 6, 2014 at 10:36 am

      So good to hear, Cindy! I use mine all the time. 🙂

      Log in to Reply

Leave a Reply Cancel reply

You must be logged in to post a comment.

My Other Blogs

  • Fun Learning Chinese
  • Daily Improvisations
  • The Happy Homeschool
  • LauraBlodgett.com

Fun Fitness After 50 is a project by Laura Blodgett

About Laura Blodgett

All pictures and content including the name and logo “Fun Fitness After 50” are Copyright (c) 2022 by Laura Blodgett, unless otherwise noted.

Making sure you know that:

Some of the links on this site are affiliate links, including affiliate links to amazon.com. See disclosures here

Contact me

You can send me a message by clicking here.

Written by Laura Blodgett:

Why Does Grandma Run Barefoot? The key to fun movement and good balance

The audiobook is read by me!

Tags

12 Weeks to a Healthy New Year body image book reviews dancing dogs female issues gear Helpless Female Idaho injuries interview interviews legal issues Luna sandals music my Luna sandals my Moc3s nutrition organizing Owyhee Desert Adventure PVC Pipe Projects questioning the establishment race report recipes sockwas spin bikes at home Swimming Pool Project Taipei Trails and Paths to Run or Bike training plans weight Wild Greg Adventure Winnipeg Barefoot Runners

Copyright © 2026 · Beautiful Pro Theme on Genesis Framework · WordPress · Log in